
Camera Settings for Northern Lights Photography
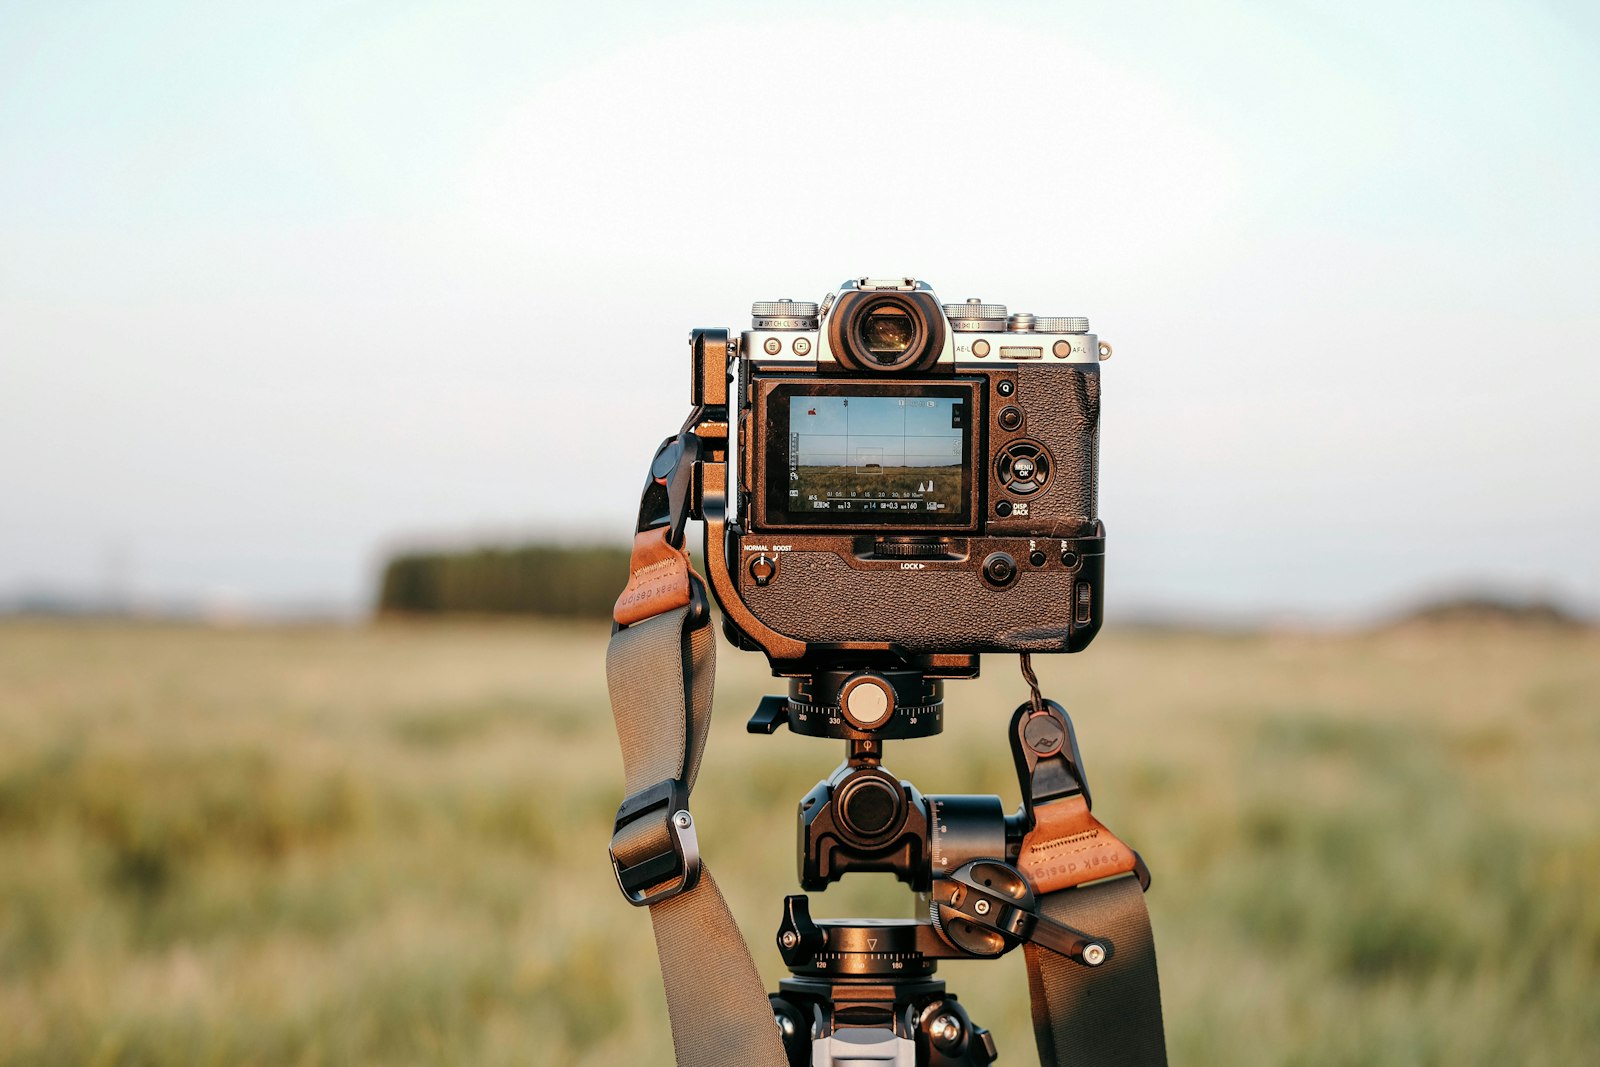
You do not need professional gear to photograph the aurora, but you do need to shoot in manual mode — automatic settings will almost always underexpose a night sky. Here are the fundamentals.
Aperture, ISO, and shutter speed
Aperture: use the widest your lens allows, ideally f/2.8 or wider, to let in as much light as possible.
ISO: start around 800–1600 and adjust up to 3200 if your camera handles noise well at higher ISOs. Modern mirrorless and DSLR cameras vary a lot here — test a few shots and check the histogram.
Shutter speed: 5–15 seconds is a good starting range. A fast, bright, fast-moving aurora needs a shorter exposure (5–8s) to keep detail and avoid the light bands smearing into a flat glow; a faint, slow aurora can take a longer exposure (10–15s).
Focus and stability
Autofocus struggles in the dark, so switch to manual focus. Focus on a distant light (a star, or the horizon) using your camera's zoomed-in live view, then leave the focus ring there for the rest of the night.
A sturdy tripod is essential — handholding is not viable at these shutter speeds. A remote shutter release or a 2-second self-timer avoids the small shake of pressing the shutter button by hand.
A few extra tips
Shoot in RAW format rather than JPEG for far more flexibility adjusting exposure and white balance afterward. Cold drains batteries fast — bring at least one spare and keep it in an inner pocket, close to your body, until you need it.
If photography is a priority for your trip, our Private Group tour includes professional photography assistance, so you can focus on the sky while getting shots you will actually want to keep.